3D Illustrated Periodic Table Model Assembly
Replacement for the
Printed Assembly Notes of the model kit
ADD more neXus bracing
CLICK ON PHOTO
TO ENLARGE
1. Start the f-block pincher
2. Flip the small retainer flap
3. Fold flap at the other end
4. Looping
5. Slide & tuck to grab
6. Align and paperclip
7. Neatly tape over the top
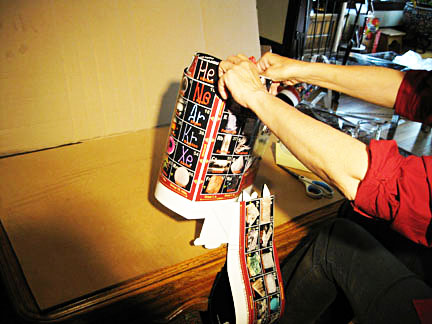
1. Lift, turn, and stand the assembly up at edge of the work surface, the face of the s- block facing you and the f-block hanging down.
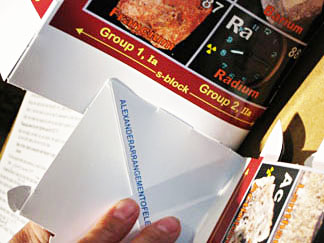
2. Assure that the "ALEXANDER..." brace section is flush at the slots and tabs not pulled inside enough to distort the edge. Correct if necessary.
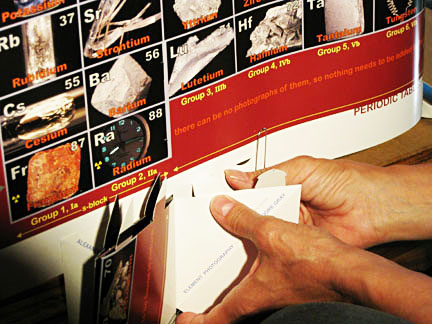
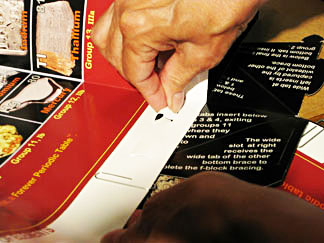
3. Insert tabs 3 and 4 from "...PHOTOGRAPHY..." brace below Group 3, IIIb. Pull from the other side - through both layers of the d-block.
4. Remove paperclip under Groups 11 and 4 snd lay down assembly in previous position, with tabs 3 and 4 protruding. Pull 3 and 4 through firmly to hook the top barbs.
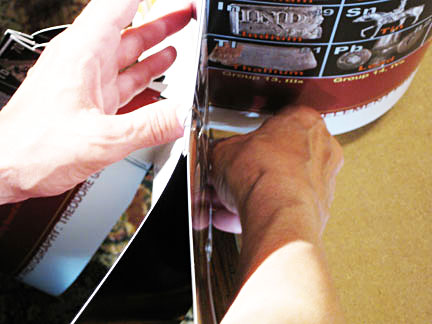
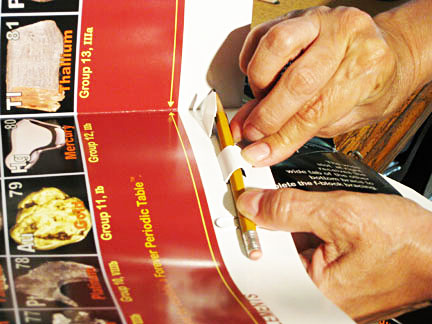
5. Burnish tabs toward bottom hard at the barbs, then curl tabs down around a pencil, tucking them into the slots below - which might require adding tab space inside the white slot strip.
6. Press flat (or pull from under the white slot strip) until the second set of barbs hook.
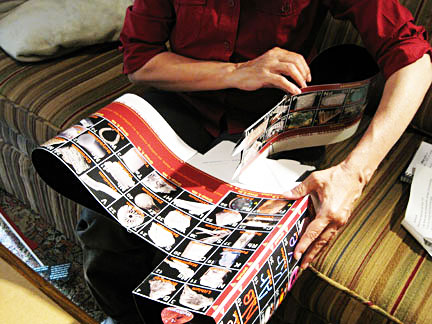
7. Turn assembly over and place over/between your knee(s) - bottom to you, f-block on top.
NEXT - F-block Comes Home ->>
Any problems? Call the AAE HELPLINE at 773.271.0318 days
...or
email me at Roy@AlexanderArrangementofElements.com.
< BACK