3D Illustrated Periodic Table Model Assembly
Replacement for the
Printed Assembly Notes of the model kit
P-block and D-block interface at a bend
TO ENLARGE
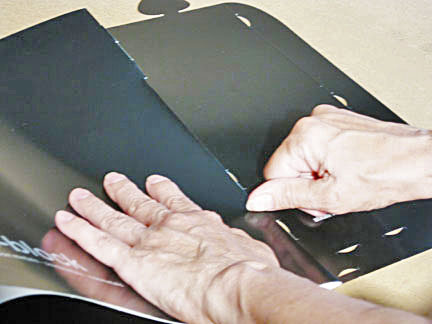
1. Make the long vertical crease
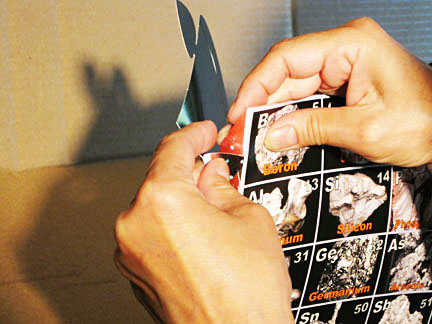
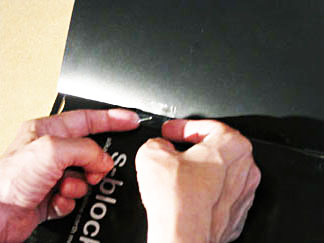
2. Beryllium to Boron started
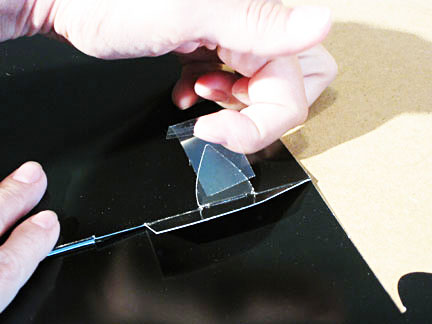
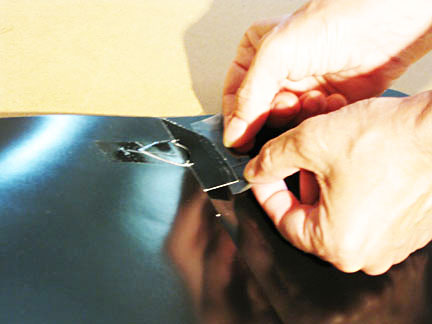
3. Attach half the tape to the tab
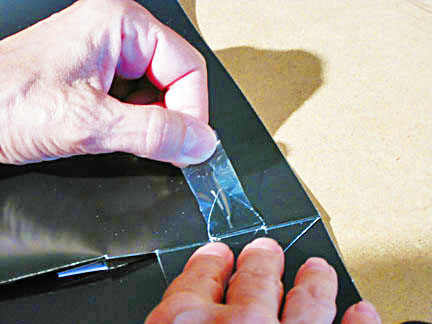
4. Pull taut & tape well
5. Beryllium to Boron completed

6. Taping at the fold joining...
7. ...attach mid-fold...
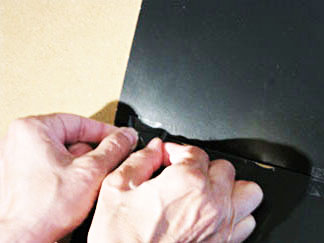
8. ...and finish at the bottom.
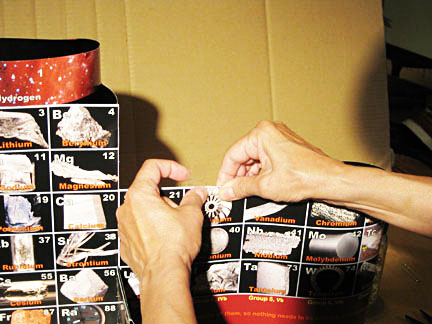
9. D-block pinch is a handle
1. Identify the crease between Groups 12 (d-block) and 13 (p-block), then turn over and fold top to bottom
2. Insert the Beryllium joiner tab into the B flap slot. Don't tape yet.
3. When taping tabs and flaps: stick half the tape to the tab...
<
4. ... pull taut in the slot, and retaining tension, press tape over tab/flap to surface behind.
If you need a taping do–over, remove tape from end away from cut edge of paper – or just slice tape at tab edge.
5. Check to see that the pinch joiner is secure, that the long vertical fold lies against the flat side of the slots and the model bottom edges match. Pull Beryllium tab taut and tape it and the B flap to the surfaces behind with care.
6. Tape the p-block to the s-block down along the fold over the end of the pinch joiner. Assure that the slots are clear of tape between the slots along the fold. ,
7. Continue in the middle...
8. ...and below the bottom slot.
Stand assembly up, turn it around, and remove the paperclip over "Ti".
9. Pinch the model with fingers where the clip was. Cleanly, as it will be in plain sight and a pinch/lift location, so secure that area with a short strip of tape over top to both sides.
Lay assembly down on the d-block, bottom to you.
NEXT - P-block takes shape ->>
Any problems? Call the AAE HELPLINE at 773.271.0318 days
...or
email me at Roy@AlexanderArrangementofElements.com.
< BACK